Node.js Execution Toolkit
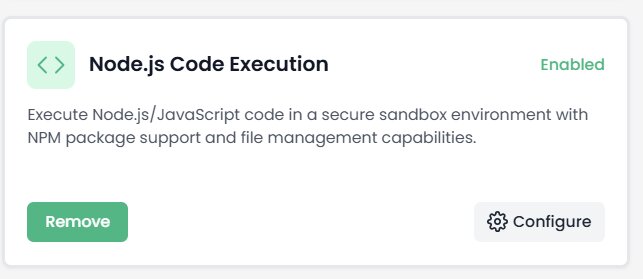
How to reach: Main sidebar > "Agents" > Select agent > "Toolkits" tab > "Code & Development" > "Node.js Code Execution"
- Open your agent > "Toolkits" tab > "Code & Development" category > Find "Node.js Code Execution" toolkit.
- Click "Add to Agent" on Node.js Code Execution, then "Configure". Click "Save".
Node.js Code Execution Toolkit
Execute Node.js/JavaScript code in a secure sandbox environment with NPM package support and file management capabilities. Optimized for JavaScript/TypeScript workloads, API integrations, JSON processing, async operations, and web automation.
Node.js Toolkit Configuration
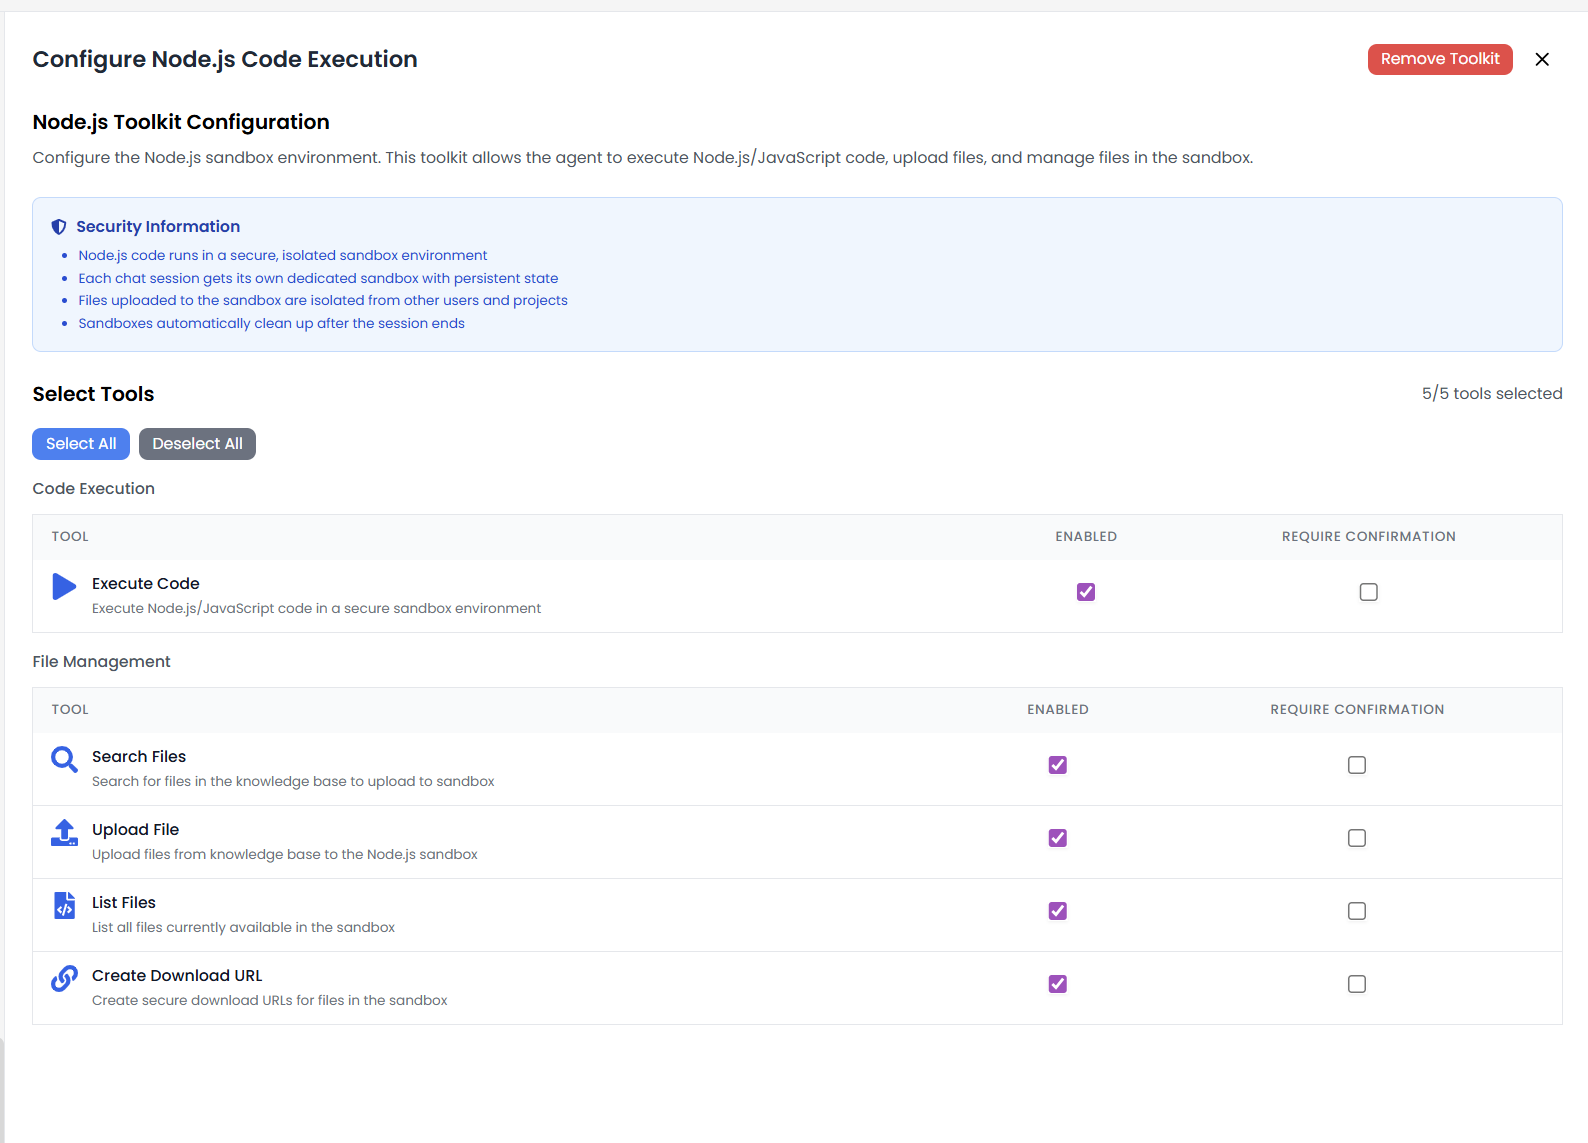
Configure the Node.js sandbox environment. This toolkit allows the agent to execute Node.js/JavaScript code, upload files, and manage files in the sandbox.
Security Information
- Node.js code runs in a secure, isolated sandbox environment
- Each chat session gets its own dedicated sandbox with persistent state
- Files uploaded to the sandbox are isolated from other users and projects
- Sandboxes automatically clean up after the session ends
Available Tools (5/5)
Code Execution:
- Execute Code: Execute Node.js/JavaScript code in a secure sandbox environment
File Management:
- Search Files: Search for files in the knowledge base to upload to sandbox
- Upload File: Upload files from knowledge base to the Node.js sandbox
- List Files: List all files currently available in the sandbox
- Create Download URL: Create secure download URLs for files in the sandbox
Use Cases
- API Integration: Call REST APIs and handle OAuth flows.
- JSON Processing: Parse and transform JSON data structures.
- Web Automation: Scrape websites and automate forms.
- Data Transformation: Convert between formats (CSV, JSON, XML, YAML).
Example Code
Below is an example Node.js script demonstrating NPM package usage, dependency checking, and the required module.exports pattern with a main() entry point function:
const _ = require("lodash");
const PACKAGES = ["lodash", "@google-cloud/bigquery", "axios"];

const isPackageInstalled = (packageName) => {
    try {
        require.resolve(packageName);
        return true;
    } catch (e) {
        return false;
    }
};

const getPackageVersion = (packageName) => {
    if (!isPackageInstalled(packageName)) return {
        isInstalled: false,
        version: null,
        message: "Package is not installed",
        package: packageName,
    };

    const version = require(`${packageName}/package.json`).version;
    return {
        isInstalled: true,
        version,
        message: `Package is installed with version ${version}`,
        package: packageName,
    };
};

const test = () => {
    return _.map(PACKAGES, (pkg) => getPackageVersion(pkg));
};

async function main(inputText, maxLength = 100, options = {}) {
    /**
     * Main function that will be executed
     *
     * @param {string} inputText - The text to process
     * @param {number} maxLength - Maximum length of output (default: 100)
     * @param {object} options - Additional processing options (default: {})
     */

    return { data: test() };
}

// The entry point function will be called with the arguments you define
module.exports = { main };
Key Points from Example
- Entry Point: The
main()function is the entry point, exported viamodule.exports = { main }. - NPM Packages: Use
require()to import installed packages (e.g., lodash, axios, @google-cloud/bigquery). - Package Checking: Use
require.resolve()to check if a package is available in the sandbox. - Async Support: The main function can be async for handling API calls and file operations.
- Parameters: Define parameters with defaults (e.g.,
maxLength = 100,options = {}) for flexible input. - Return Format: Return results as an object (e.g.,
{ data: ... }) for structured output.